
The goal of this guide is to help you create your own custom DMA firmware. There’s a lot of misinformation and gatekeeping around this topic, often because some people profit from selling firmware for hundreds of dollars.
Whenever questions are asked, the typical response is “read the docs,” without providing the proper link. For those who want to read the documentation, here it is: Xilinx Documentation.
Create DMA Firmware Instructions
To avoid anticheat detection, you should modify the following items. Note that this guide won’t help you bypass Face-it/VGK unless someone provides additional information, as many old methods are now patched:
- DSN
- Subsystem IDs
- Device ID
- Vendor ID
- Revision
- Blocks 0x40 and 0x60
- BAR Address
- Auto-Clear Status Register / Master Abort Flag
Let’s get started.
Step 1: Prerequisites
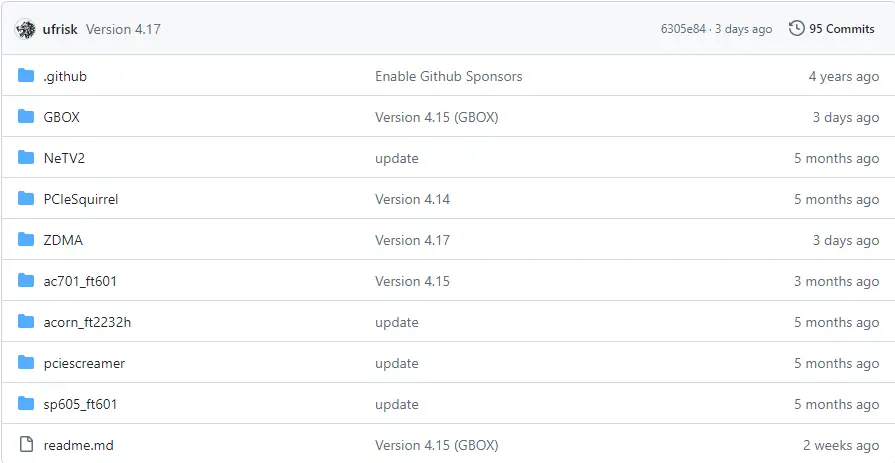
You will need the latest version of Xilinx Vivado (requires an AMD account), Visual Studio Community Edition (for this guide’s search functions), and the default firmware source code from Ulf’s GitHub repository.
Links:
- Vivado: Xilinx Support
- Visual Studio: Visual Studio Community
- Firmware Source: PCILeech FPGA
(Note: Installing these tools is straightforward, so installation instructions are not provided.)
Step 2: Initial Customization
First, open the PCIeSquirrel folder in Visual Studio. Search for the function rw[20] <= 1; by pressing CTRL+F. You should find this in the file pcileech_pcie_cfg_a7.sv at line 208.
Change lines 208 and 209 to:
rw[20] <= 1;
rw[21] <= 1;
Next, modify the DSN (Device Serial Number) at line 215. It should look like this:
rw[127:64] <= 64'h00000000xxxxxxxx; // +008: cfg_dsnChange the last numbers (default is 35) to a new value, e.g.:
rw[127:64] <= 64'h0000000042006969; // +008: cfg_dsnSave all the files.
Step 3: Generate the Project
Open TCL shell 2022.xx (your version may differ). Navigate to the project folder using cd:
cd C:/Users/XXXX/Desktop/PCIeSquirrelBuild the Vivado project with:
source vivado_generate_project.tcl -notraceOnce complete, you will find the project file in the directory PCIeSquirrel\pcileech_squirrel\pcileech_squirrel.xpr.
Step 4: Customizing within Vivado
Open the project file in Vivado. In the “Project Manager” window, locate and double-click i_pcie_7x_0 under pcileech_squirrel_top\i_pcileech_pci_a7. Customize the IP in the “IDs” tab by entering the desired IDs:
- Vendor ID: 10EB
- Device ID: 3029
- Revision ID: 09 (can be any value)
- Subsystem Vendor ID: 10EB (match the Vendor ID)
- Subsystem ID: 0008
Adjust class codes if necessary. Use PCI IDs to find device IDs. After entering the new values, click “OK” and then “Generate”.
Step 5: Locking the IP Core
In Vivado, open the “Tcl Console” and enter:
set_property is_managed false [get_files pcie_7x_0.xci]This locks the core. To unlock it later, use:
set_property is_managed true [get_files pcie_7x_0.xci]Step 6: Changing BAR Address (Optional)
If changing the BAR Address, search for bar_0 in Visual Studio. In pcie_7x_0.xci, at line 264, you’ll find:
"bar_0": [ { "value": "FFFFF000", "resolve_type": "generated", "usage": "all" } ],Change FFFFF000 to the desired value, matching the physical device’s address.
Step 6.5: Changing MSI/PCI Pointers (Optional)
Run synthesis in Vivado. Then, in Visual Studio, search for PCIE_BASE_PTR and adjust as needed. Example parameters:
parameter [7:0]  MSI_BASE_PTR = 8'h48,
parameter [7:0]  MSI_CAP_NEXTPTR = 8'h60,
parameter [7:0]  PCIE_BASE_PTR = 8'h60,
parameter [7:0]  PCIE_CAP_NEXTPTR = 8'h9C,
Modify these values carefully to avoid conflicts.
Step 7: Building the DMA Firmware .bin File
In Vivado, select “Generate Bitstream” to build the firmware. This will take some time. Once complete, find your firmware in PCIeSquirrel\pcileech_squirrel\pcileech_squirrel.runs\impl_1 named pcileech_squirrel_top.bin.
Congratulations! You’ve successfully built your DMA firmware. Be cautious with your modifications to avoid damaging your hardware.
Want To Get Started With DMA Cheats?
Click Here to Join our exclusive Discord community to get started cheating in your favorite video games!
- SUPPORT: Get personal help and tips directly from me
- COMMUNITY: Connect with fellow DMA gamers and find teammates
- UPDATES: Be the first to know about new updates and features